texture. spin. heat.
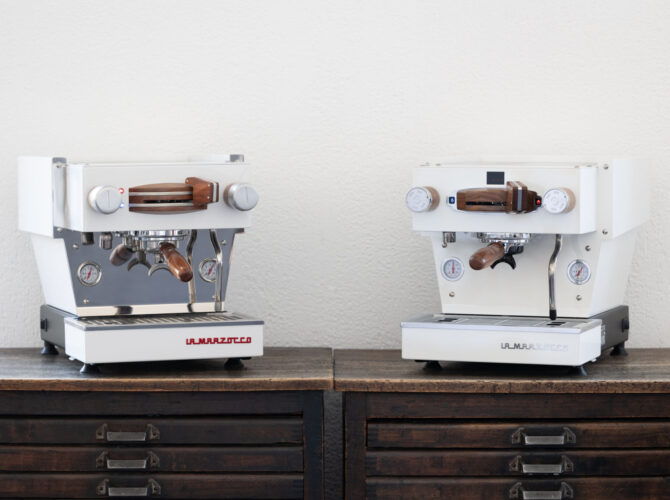
A set-by-step guide to steaming and pouring milk using the Linea Mini. While you may already know the basics of steaming milk, there are always details to perfect. Mastering the art of milk steaming with the Linea Mini can help you create silky, smooth textures that elevate your espresso creations to new levels. Producing great latte art requires a combination of tools, types of milk and steaming techniques.

The capable steam wand on the Linea Mini gives us 1.7 bars of pressure, heating the milk incredibly fast. This can be lowered slightly in the La Marzocco Home App, but being able to steam milk quickly is important if we want to be able to make lots of drinks in a row and for that we need the power.
the tools to use
Before we begin steaming the milk, we must pick the right sized pitcher.
small pitcher
A smaller 30cl (12oz pitcher) is for a 125-250mL (4-8oz) sized drink.
large pitcher
A larger 60cl (20oz pitcher) is for a 350mL (12oz) sized drink or for milk sharing.
Preparation is key for well textured milk. Start with a clean steam wand, cold milk, and the right sized steaming pitcher. Only fill the pitcher up to right about the halfway mark. Filling the pitcher above the halfway makes the milk more likely to overflow during steaming. While filling the pitcher less than halfway will cause the smaller amount of milk to heat up too quickly and controlling it will become difficult.
temperature
The ideal temperature for milk will vary depending on personal preference, but the hotter the milk gets the less sweet and less structurally sound it becomes. A higher heat such as above 65°C (150°F), Will cause our foam to dissipate more quickly. If well-structured foam is our goal, we should heat the milk to no more than 60°C (140°F). This is just when the pitcher feels hot to our hand.
Professional baristas in cafes have practiced and experimented with making drinks taste fantastic. Perfecting the structure and temperature of the drinks they serve. They will even heat the cups on top of the machine so that they can steam the milk cooler for a better tasting espresso coffee overall.
types of milk to use
Milk is particular and all milks will steam differently. We can steam many different milks on our machine, but some will give us more desirable results than others.
dairy milk
Whole milk creates a creamy micro-foam due to its high fat content and many people find it to be the easiest milk to start learning milk steaming with.
non-dairy milk
A well-crafted barista blend of non-dairy milk can also achieve great results. It just needs to be designed with milk steaming in mind. Some people even make their own alternative milks at home or in cafes that can be delicious and steam well!
technique
We might make slight variations to our steaming and pouring process in special cases but generally all well-made milks steam pretty similarly.
steaming
Start by purging steam from the wand to clear any condensation. Then, insert the steam wand tip just below the milk’s surface and turn it on, keeping the wand to the side so the milk spins while it heats. When the pitcher feels hot, turn it off. We don’t need to move the pitcher much at all as every small adjustment will make the texture of our milk different.
pouring
Once the wand has been purged and cleaned, we can pour our art. First pour a small amount of milk around the espresso to create a base (make sure to be a little higher from the espresso here) then drop down as close to the espresso as possible to start the design.
Let’s pour a tulip, for this we will make small quick pours each one stacked on top of the last. Pour a little faster here to help the textured part of the milk slide out onto the surface of the drink.
pro tips
These are tips to keep in mind while you’re steaming and pouring any milk!
- Tap the pitcher after steaming. If a few larger bubbles show up in the finished milk, gently tap the pitcher on a flat surface to remove them and swirl the pitcher to keep the foam and milk integrated.
- Pour the art right away. Start pouring the art as soon as possible once the milk has been steamed as the foam will start to rise and separate from the liquid quickly.
- Thinner micro-foam. By texturing the milk less, we can make a very crisp and well contrasted design when pouring.
- Thicker micro-foam. By texturing the milk more we can make a denser and less contrasted design when pouring.
With all this said It’s good to remember that the latte art itself won’t make our drinks taste better so we should have fun with it and enjoy the coffee even if our design isn’t quite what we hoped for.
There are many styles of art, and we can all craft our own.
Questions? Book a consultation with our La Marzocco Home Team


